

Hey folks, if you’re working with fluid or gas systems, chances are you’ve run into brass male to female needle valves—those workhorse little parts that let you fine-tune flow without messy leaks or over-adjustments. As a supplier who’s fielded hundreds of questions about these valves over the years, I can tell you that adjusting their flow is way simpler than it sounds… if you know the right steps. No fancy engineering degree required, just a little prep and patience. Let’s break it down like I explain it to our customers, with tips we’ve picked up from years of shipping Brass Male To Female Needle Valve all over.
First off, before you touch the valve, you need to get your setup right. The number one mistake people make here is skipping pressure checks. If you’re adjusting flow with the system fully pressurized, you’ll either under-adjust (and get too much flow) or over-adjust (and end up with a stuck valve). Most of the time, we recommend using a pressure gauge to keep tabs—something like the PN 100 Control Pressure Gauge pairs perfectly with our valves because it’s made to work with brass needle valves, so there’s no compatibility hassle. You’ll also need a basic set of wrenches (usually a ⅜ inch works for most standard valves), some Teflon tape for sealing if you’re working on threaded connections, and a soft cloth to wipe up any small leaks you might get during adjustments. Pro tip: Turn off the system’s main supply before starting—safety first, y’all. You don’t want to accidentally blow fluid or gas while you’re twisting the valve stem.
Now, let’s talk about what makes a brass male to female needle valve different from other valves here. Unlike ball valves that snap open or shut, needle valves use a tapered, pin-shaped stem that slides into the valve seat to control flow. That tapered design is why they’re so good for fine adjustments—one small turn can make a big change, but only if you do it slowly. The male end threads onto one pipe, the female onto the other, so it’s a middleman that fits into most standard plumbing or instrumentation lines without adapters. If you’re using it in a high-pressure setup, we also have options like Brass Instrument High Pressure Needle Valve for those heavy-duty jobs, but the basic adjustment steps apply to all our needle valves.
Okay, let’s get into the actual adjustment steps. I’ve broken this down into small, easy steps that even someone who’s never turned a valve before can follow. First, locate the valve’s handle or stem. Most of our brass male to female needle valves have a knurled metal handle for easy twisting, but some smaller ones use a flat screw driver slot—double check yours before grabbing a tool. Next, slowly turn the handle clockwise until it stops. That’s the closed position, but don’t crank it super tight! Needle valves don’t need a lot of force to seal—over-tightening can damage the tapered stem or the seat, which leads to leaks later. We see this all the time—customers come back saying their valve is leaking, and nine times out of ten, it’s because they cranked the handle too hard.
Once it’s all the way closed, turn it counter-clockwise just one full turn to get it ready to adjust. Now, here’s the part where most people rush: you want to make small, quarter-turn increments to adjust flow. If you need more flow, turn counter-clockwise a quarter turn; if you need less, turn clockwise a quarter turn. Wait 10 to 15 seconds between each turn, especially in gas systems, because the flow rate doesn’t change instantly. The fluid or gas takes a second to travel through the lines, so you might think you adjusted too little, but if you twist another quarter turn right away, you’ll end up with way more flow than you wanted. This is where that pressure gauge comes in handy—you can watch the pressure reading change slowly, so you know when you’ve hit the sweet spot. If you’re working with a setup that uses a gauge (like instrumentation), our Control Pressure Gauge Needle Valve with flange is made to mount directly to the gauge, so you can see the flow impact in real time without extra connections.
Wait, what if your valve is connected to tubing instead of threaded pipes? No sweat—our Brass Single Ferrule Tube Needle Valve uses a compression fitting for tubing, and the adjustment steps are almost identical. Just make sure the tubing is properly seated in the ferrule before you start, and when you adjust, don’t yank the tubing while you twist the handle—that can loosen the fitting and cause leaks.
Now, let’s talk about common mistakes to avoid, because even seasoned techs mess these up sometimes. First, don’t adjust the valve while the system is under full load for the first time. If you’re installing a new brass male to female needle valve, test it at low pressure first—turn the main supply on slowly, adjust the flow a little, and work your way up to full pressure. That way, if there’s a tiny leak from a loose fitting, you catch it before it gets worse. Second, don’t use pliers on the handle. The knurled handle is designed for your fingers, and using pliers can round it out, making it hard to adjust later. If the handle is stiff, a quick spray of silicone lubricant (not WD-40, that can leave residue) works wonders—just don’t get it on the sealing surfaces. Third, don’t ignore leaks. If you notice a small drip after adjustment, that’s usually easy to fix—tighten the fitting a quarter turn, not the valve handle. If the leak is coming from the valve stem itself, that means the packing inside is worn a little; for brass valves, you can usually tighten the packing nut (the small nut around the stem) a tiny bit to stop the drip without taking the valve apart.
Another thing that people don’t think about: flow direction. Wait, can you adjust the valve wrong? No, not really, but if the flow is going the opposite way of what you’re used to, the adjustment will feel reversed. Just remember: turning counter-clockwise almost always opens the valve (more flow), clockwise closes it (less flow)—that’s standard for most needle valves, including our brass male to female ones. If you’re not sure which way is which, mark the open position first before you connect the valve—turn it counter-clockwise until it stops lightly, then mark the handle with a Sharpie so you know which direction is open.
What if you’re dealing with a very small or very large flow adjustment? The tapered stem design of brass male to female needle valves means that a quarter turn is fine for small adjustments, but for big changes (like going from almost closed to almost open), you can turn it a half or three-quarter turn. Just keep an eye on the pressure gauge the whole time—if you see the pressure spike too fast, stop twisting immediately. For high-pressure applications, we always recommend using a high-quality pressure gauge paired with a brass needle valve, which is why our PN 100 Control Pressure Gauge is such a popular add-on for industrial setups.
Let me walk you through a quick real example that I’ve seen a dozen times. Last month, a customer called us because their flow was too low on a irrigation line they had set up with a brass male to female needle valve. They told me they’d turned the handle all the way counter-clockwise, and still barely had any water coming out. I asked them to turn the main supply off, check the fitting, and then turn the valve handle all the way closed, then back one full turn. When they did that, the flow immediately picked up. Turns out, they’d been twisting the handle so far counter-clockwise that the tapered stem was catching on the seat inside, not letting water pass through. That’s exactly why that first step of closing the valve fully and opening it one turn is so important—prevents that kind of catch.
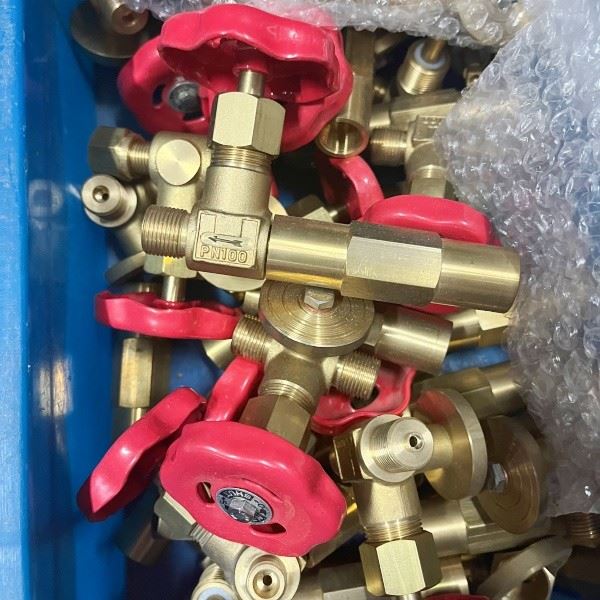
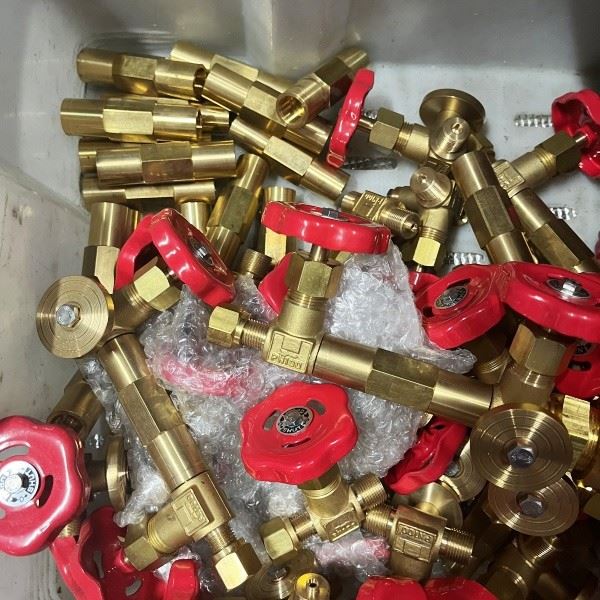
Now, once you’ve adjusted the flow to where you want it, make sure to do a final check. Run the system at normal pressure for 10 minutes, watch for leaks, and test the flow a couple times to make sure it stays consistent. Needle valves can sometimes shift a little after a few hours of use, so a quick re-adjustment after the first 24 hours is a good idea. If you’re using the valve in a corrosive environment, make sure it’s properly sealed—brass is great for that, but you can add a thin layer of Teflon tape on the male threads (not the female side) for extra protection.
At the end of the day, adjusting a brass male to female needle valve isn’t rocket science. It’s all about taking it slow, using a pressure gauge to keep track, and not over-tightening. If you run into issues—leaks, stuck stems, flow that won’t adjust right—we’re here to help. We ship these valves all over, and our team knows the ins and outs of every model, from the basic brass male to female ones to high-pressure ones. If you’re looking to upgrade a setup, replace a old valve, or just have questions about which valve is right for your system, reach out to our team to discuss your needs. We’re happy to walk you through it step by step, no jargon, no hassle.
References
- Valve Manufacturers Association. (2022). "Needle Valve Adjustment and Maintenance Guidelines" – Industry Best Practices for Fluid Control Components.
- Brass Industry Association. (2021). "Proper Installation and Care for Brass Valve Components" – Technical Manual for Plumbing and Instrumentation Applications.
- Fluid Control Research Institute. (2023). "Fine Flow Adjustment for Needle Valves" – Study on Tapered Stem Design and Flow Rate Accuracy.


